Here's the Nokia E72 Solution for USB Pin Not Charging Problem. This solution may help fix the phone if t doesn't show any charging indication when the charger via USB pin is being plug-in.
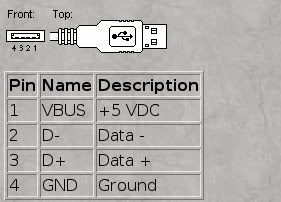
If this problem occurred, you may first check the USN pin connector for possible damage and then clean it if there is an oxidation build-ups found.
You may refer to the solution below and do have a check an test procedures on the highlighted components for further troubleshooting.
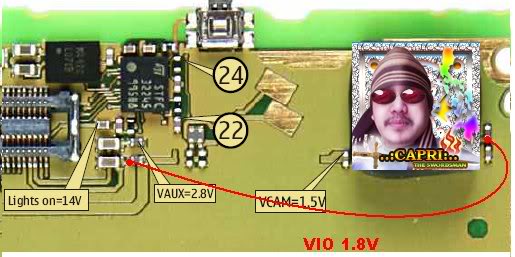
Nokia E72 USB Pin Charging Connection
The solution above shows the components and connection line paths of the USB pin connector and can be used to check and test if the device won't charge up. You may first check the FUSE and the Chip Diode for possible damaged. You may also try plugging the charger then check if there is a voltage reading on the filter capacitor as shown above. If the voltage is missing, check it through fromthe USB pin connector where it come from. If the voltage is okay, it means that either the fuse is open and the diode is shorted.


 NOKIA ALL Regular New Model Hardware Solution Pack Exe